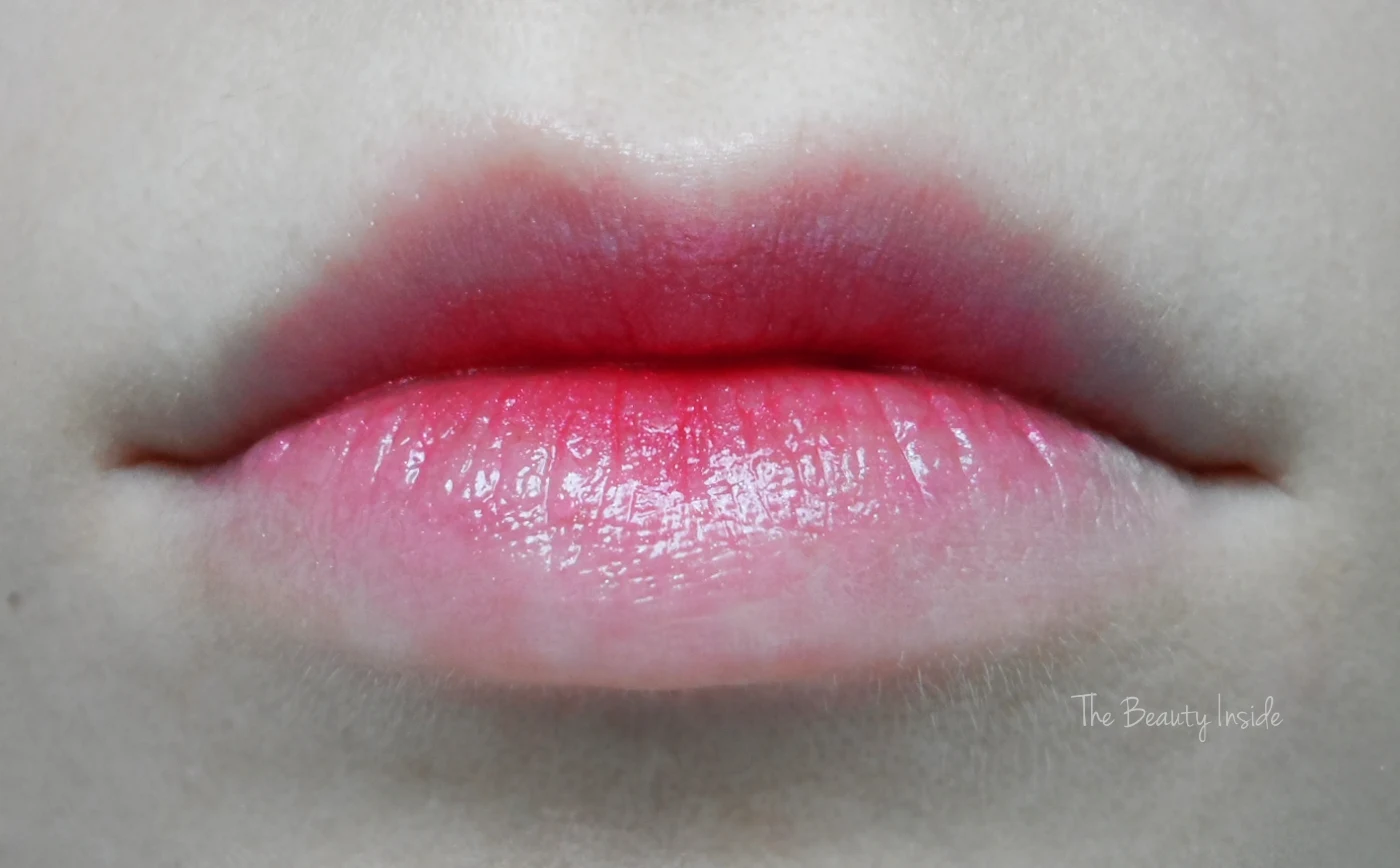
Good morning, lovelies! How's everyone doing today? If you've been perusing Pinterest and various beauty websites, you've probably stumbled upon some breathtaking images of baby doll lips. This intriguing trend draws inspiration from the beauty secrets of Korean and Japanese influencers, and I couldn't resist the urge to dive into this captivating beauty hack myself.
In this tutorial, I'll guide you through the steps to recreate these stunning ombré lips that evoke the charm of a real-life doll. So, get ready to unveil the secrets behind achieving those irresistibly cute and impeccably neat lips that will go well with your cute eyeliner makeup!
How to Create an Adorable Porcelain Doll Lip Look?
- #1. Start by preparing your lips:
Before applying makeup to your lips, it's crucial to start with a smooth canvas. Begin by exfoliating your lip skin to ensure it's soft and free from any rough patches. This will create the ideal base for a flawless finish.
- #2. Apply powder:
Next, apply a thin layer of face powder to your lips. This step not only helps to neutralize the natural color of your lips but also acts as a primer, ensuring your lipstick stays put for longer periods.
Now, let's delve into the process of creating those captivating ombré lips.
- #3. Start applying your look:
Choosing the Right Shade: The first step in creating ombré lips is selecting the perfect lipstick shades. Opt for a lighter shade for the center of your lips and a slightly darker shade for the outer edges. This contrast will create the iconic ombré lips effect.
Application Technique: Start by applying the lighter lipstick shade to the center of your lower lip. Gently blend it outward, avoiding the corners of your lips. The key here is to concentrate the lighter color in the middle, gradually fading it into the darker shade.
Blending: To achieve a seamless transition between the two shades, use a flat lipstick brush or your finger. Gently blend the colors together where they meet, ensuring there are no harsh lines. This step is essential for a professional-looking ombré effect.
- #4. Set the look:
To set your ombré lip look in place and keep your lips hydrated, finish with a touch of regular lip balm. Apply it sparingly with your finger, being careful not to disturb the ombré transition. This final step ensures your lips stay comfortable and the colors remain vibrant throughout the day.
Summarizing...
Now that you've mastered the art of ombré lips, it's time to flaunt your stunning look! Feel free to share your thoughts on this tutorial in the comments below. If you found this tutorial helpful, don't forget to follow my blog for more creative makeup tutorials featuring detailed, step-by-step instructions. Thank you so much, lovely readers, for taking the time to explore my blog. I hope you have a fantastic day, and I look forward to sharing more beauty tips with you shortly. Stay tuned!
Lots of love,
Liz


